Open Bluebeam Revu 2016:

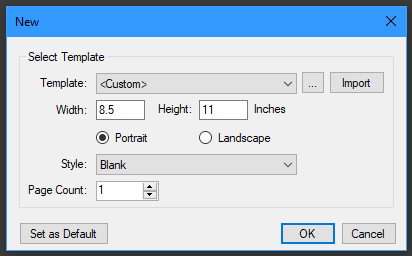
Create a new document by clicking the New button in the top left corner:

The default settings are fine so click OK on the dialog box:
Click on the Document menu in the menu bar:

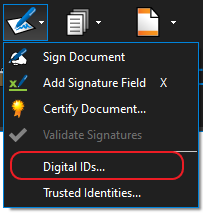
Click on the Signatures button in the ribbon menu:

Click on Digital IDs... in the drop down menu:
In this example there are already 2 signatures setup. One for signing documents with a full name and the other for initialing documents. We want to add a new signature so click the green plus sign:
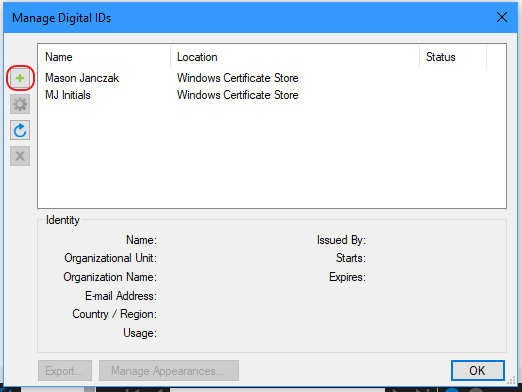
Select the Create Digital ID in Windows Certificate Store option. Then complete the identification fields in the dialog box. Once you are finished click OK:

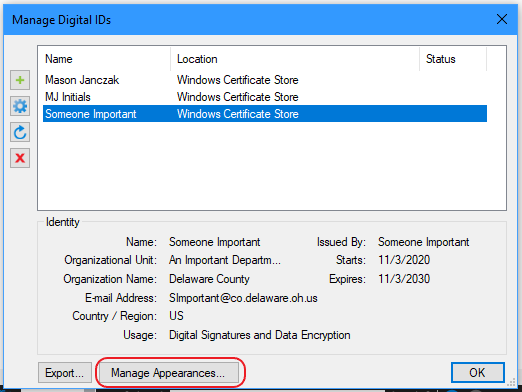
This step has created a certificate that only current Windows user can use. You can see this listed in the Manage Digital IDs dialog box. Select the recently created certificate and click the Manage Appearances button:
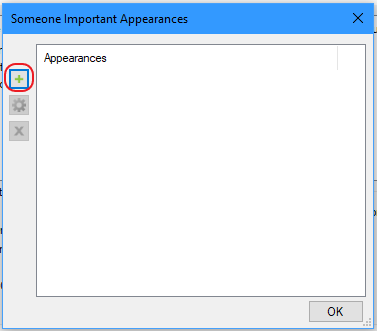
Click the plus sign to add a new appearance for selected signature:
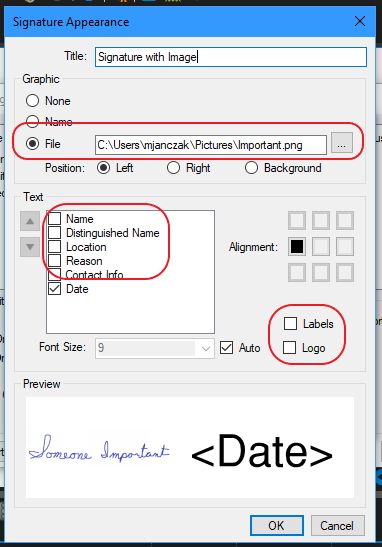
Start by giving your signature a title. If you want to use an image of you actual signature select the file containing a well cropped version of your signature in the graphic section of the dialog. If you do not have an image or just want your name printed leave this setting on Name. Remove the check marks as indicated below and click OK:
Click OK twice more to close all of the dialog boxes. You are now ready to use your digital signature. See Applying Signature in Revu 2016 for more information.